Table of Contents
- First steps
- Tools
- save preset
- Turn a photo into black and white
- How to edit a selfie
- How to remove an object from the image
- undo/redo
- Export
- More tutorials?
Have you ever thought that the Photo editor from your cell phone or Instagram seems limited? And if you want to adjust the filters at will? Keeping a consistent feed on social media can be a daunting task, but luckily the Snapseed can help you.
The app is a Photo editor available for Android and iOS, today belonging to the Google. Its biggest differentiator from the competition is the vast list of options PROFESSIONALS editing features such as curves, levels, white balance and RAW editing. Even if you're an amateur photographer, the amount of tweaking is mind-boggling, and we guarantee that even the most curious can learn with a simple guide.
With that in mind, we prepared this tutorial teaching you the main tools of the application, so that you master image editing techniques.
First steps
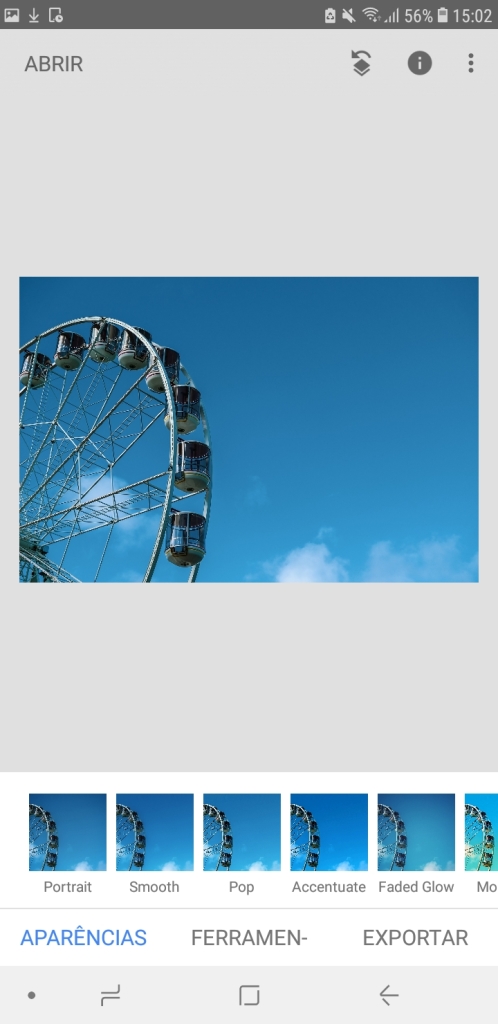
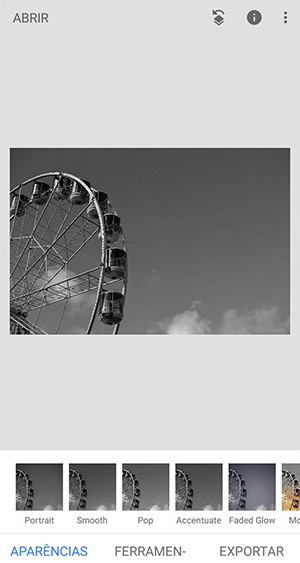
After downloading Snapseed, allow that it access your device's documents to import the images from your gallery. It doesn't have a “home screen”, as the editor for a specific photo is already the entire app. The first step is tap the center of the screen to open your first photo.
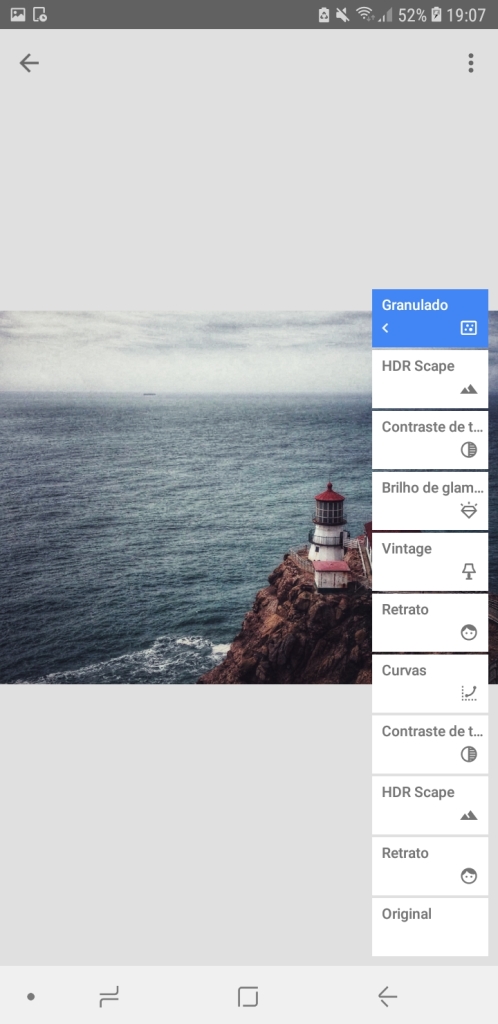
The interface is very simple and slightly similar to those who are used to editors such as Instagram. Your “work of art” is centered on the screen and at the base you see a slider with several filtros. The second tab is for tools to refine your editing and the third is for the export screen. We will explain the functions of some specific items in this tutorial, as well as how to save their settings.
The far left item corresponds to the thumbnail of your original image and the following items are the filters already included in the application. When you select one of the filters it automatically appears as a larger scale preview. You can press and hold the middle of the image to get a preview of what the original image looked like, in case you want to compare in a “before and after”. When you are happy with your filter, select the right side marker.
After confirming the filter selection, it becomes your new image – so you can overlay as many filters as you like without having to export the photo each time. If you want to enhance the red tones of one filter along with the grain of another, you can choose such a combination.
Tools
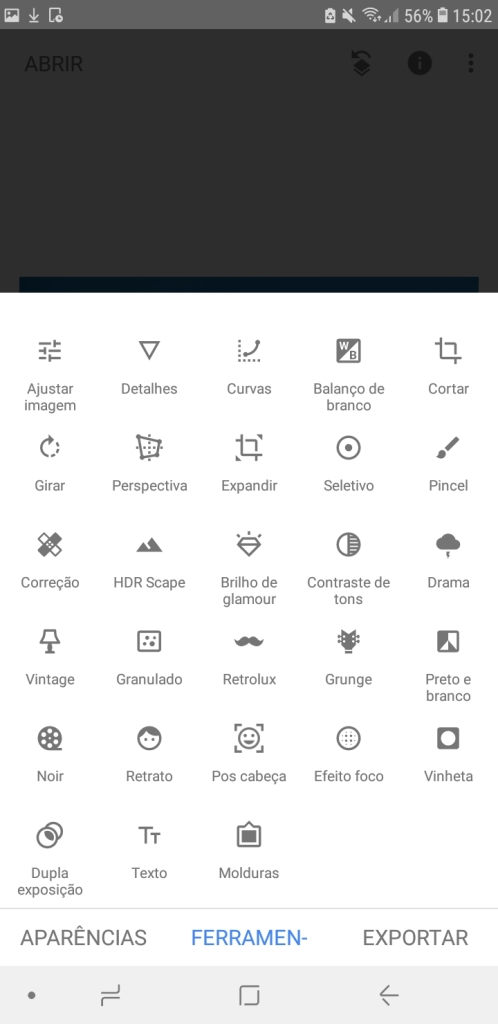
As tools, which are in the second lower tab, are a field to be explored with thousands of possible combinations, effects and overlays in your image. The most useful and surprising are: Drama (manipulates grayscale and saturation), Glamor Glow (5 types of brightness to the brightest areas) and Grunge (texture overlay).
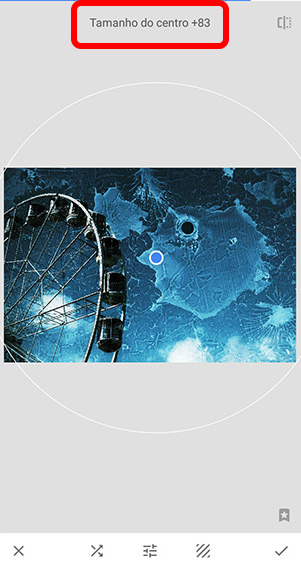
While you are adjusting your image, you will notice that the adjusted action appears in the top of the screen, followed by a number. Swiping to the right leaves the slider between 0 and +100; when swiping left, the slider goes from 0 to -100. THE symbol in the upper right corner indicates the “before and after”, the same way it works with filters: when you hold on to it, you see the original photo.
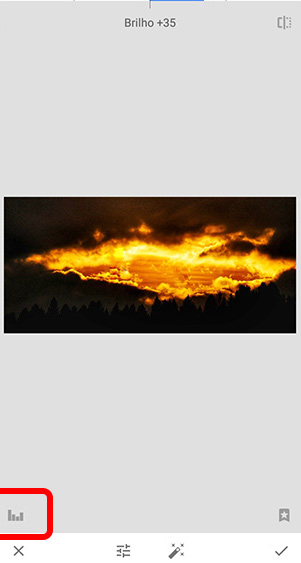
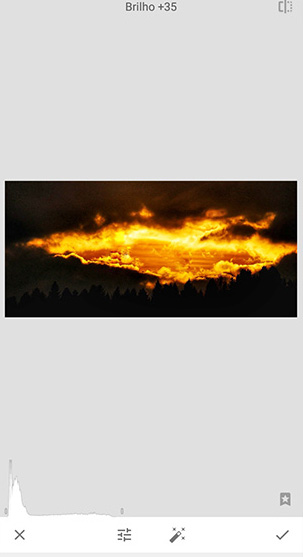
In the lower left corner, you have a symbol of vertical bars that indicate the Levels of your photo – which is nothing more than the balance and range of colors. It is a useful tool for those who are used to keeping an eye on the photographic histogram, something more advanced and that can only help those who already have knowledge in photography or professional image editing. Even so, it is still interesting for a beginner in the area (and in the application).
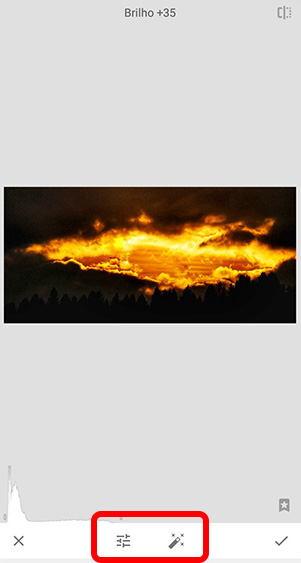
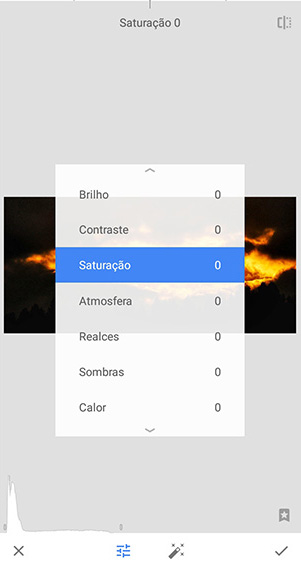
At the bottom left center you have a symbol that opens all settings possible: brightness, contrast, saturation, atmosphere, highlights, shadows and warmth. The names are self-explanatory, but it's worth testing the results of each when editing your image to get a more practical sense of what they do.
Next to the general panel you have the symbol of a Magic wand, which indicates the automatic adjustment – to what Snapseed's intelligence deems ideal for its image type. We tested in four distinct images when writing this tutorial and we can say that the app got it right every time with the suggested settings. To confirm any changes, whether smart or manual, just click on the corner lower right.
save preset
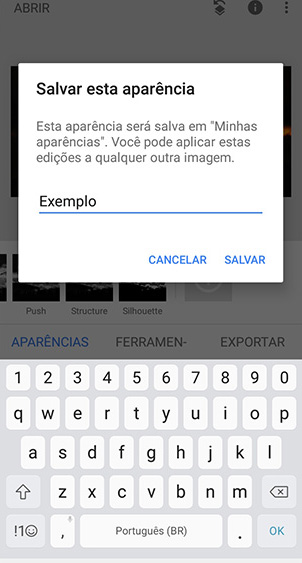
If you like one of your settings from the current edition, you'll see that the second-to-last item in the bottom bar (on the Appearances tab) is a “+” symbol, which corresponds to the action of save appearance. The preset will be remembered by Snapseed and you can add it to any other photo – ideal for anyone who wants to have a standardized feed on social media.
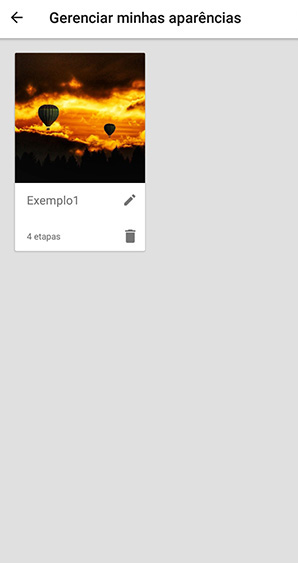
The last item, from ellipsis, indicates the “manage appearances” screen, which is nothing more than a way to rename or delete your saved edit – with a thumbnail exemplifying the effect and an indicator of how many steps were saved in this preset.
Turn a photo into black and white
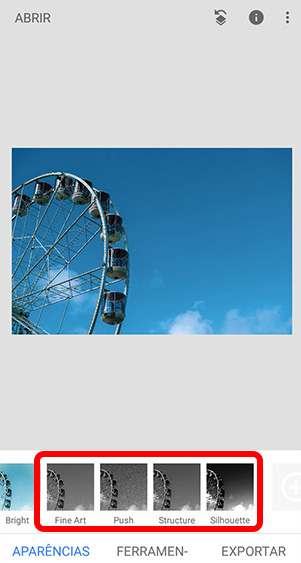
On the flap Appearances (same as the filters pre-defined and saved by you) it is possible to find four variations filters to make your photo black and white. Depending on the photo, the change may be subtle, but the differences between the (refined) names Fine Art, Push, Structure and Silhouette are the brightness intensity and the contrast between light and dark.
In addition to quick filters, another way to make your photo black and white is in the Tools, selecting the item Adjust Image (the first) and putting the saturation at -100. Brightness and contrast can also help, giving better definition to details.
How to edit a selfie
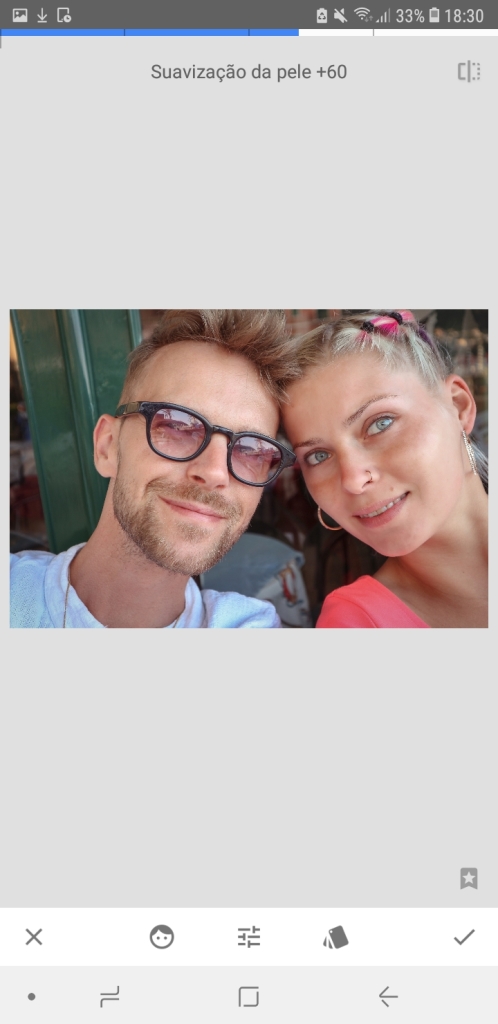
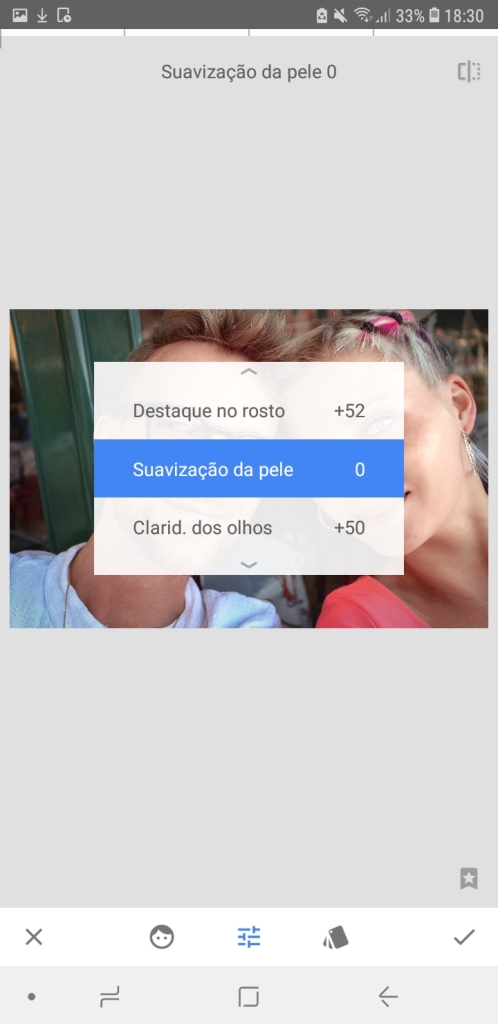
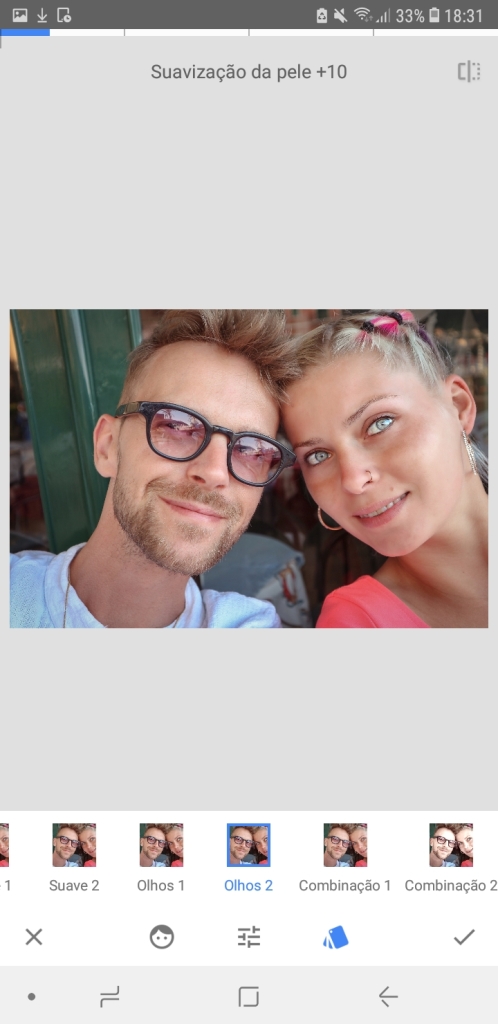
Or selfie mode (Tools - Portrait) works similar to the selfie tools already included in some smartphones – so much so that manufacturers like Samsung have been doing this for a long time when opening the front camera, for example. Do you have settings for skin smoothness, background blur e eye sparkle, in a subtlety that can be combined for best results. Even at the highest level of these settings, nothing gets too blatant. The navigation through the settings is a combination of what you have in the filters and the tools tab, with overlays and previews following the same logic.
The most noticeable filter is the “combination“, which as the name implies, is a combination of the previous filters as a way to improve your selfie. The filters "eyes” works even on those who wear reflective glasses, as face detection probably takes into account their position when “seeing” the rest of the face. We recommend moderate on smoothing for better sharpness in the details of the face, using one of the three “combination” filters.
How to remove an object from the image
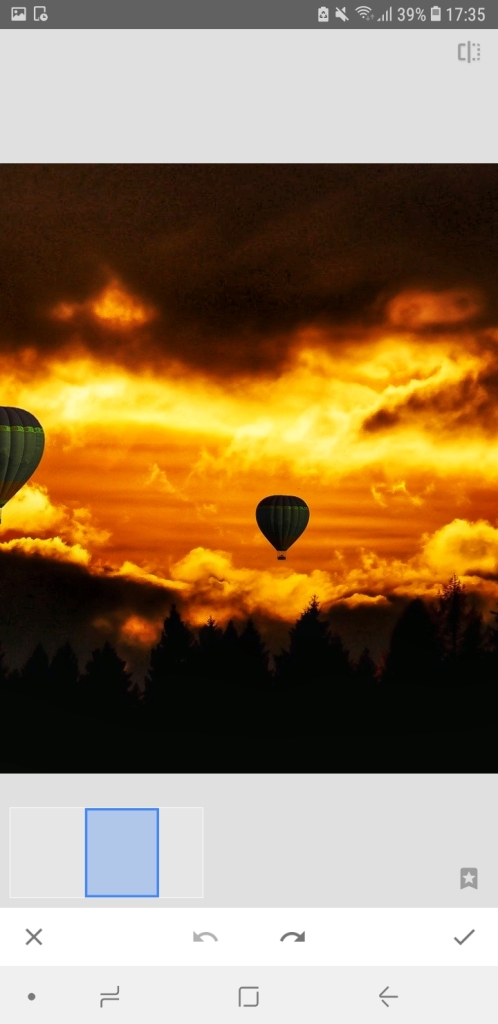
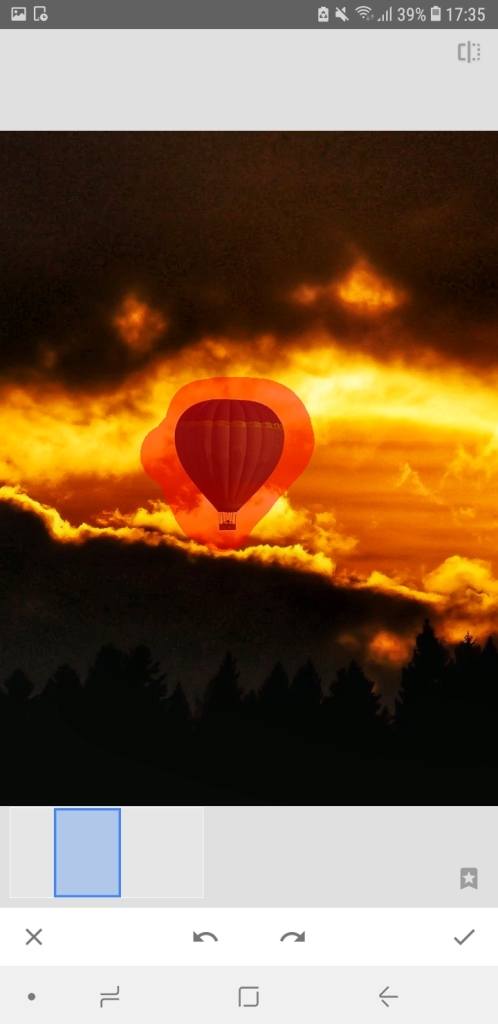

The tool Correction is the most impressive of all Snapseed. With the aid of artificial intelligence, you have a brush to paint unwanted areas that will be replaced. It is worth remembering that this works best in areas with standards, One single color or less sharpness, such as a sky full of clouds, a floor with irregular shapes, a wood with curved textures, etc.
By selecting it on the tab Tools, you can give zoom on the image and see the size of the brush wipe equivalently – the closer it gets, the smaller it gets. Small details are clearly easier to replace, while larger and sharper ones will easily be noticeable. The more indistinguishable pixels near the painted area, the more effective the tool.
undo/redo
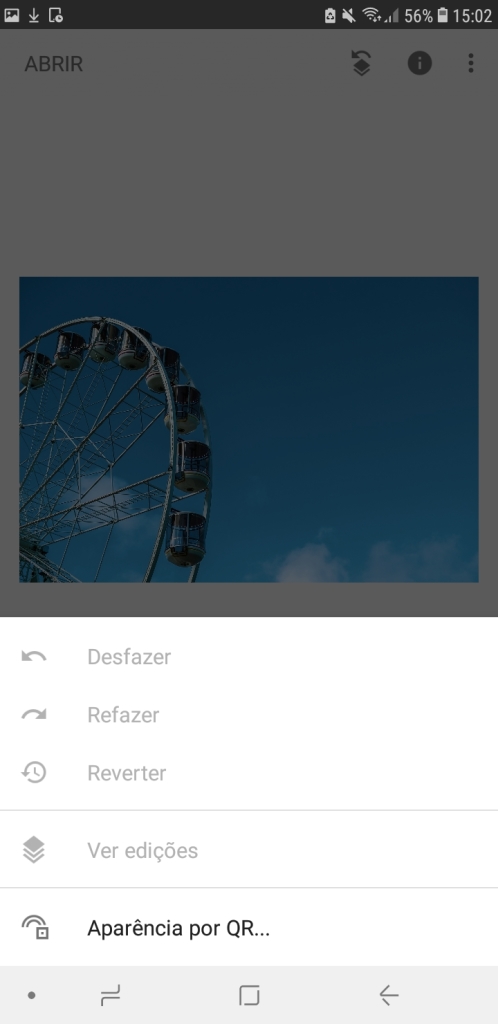
O Snapseed it's also great when dealing with human errors. Did she put a filter she didn't like, but accidentally clicked "confirm"? Or worse: he's made a dozen tweaks, but noticed his first change no longer makes sense? Well the undo button, in the upper right corner, will help you to fix these errors.
When you click on it, you see three main options: undo, redo e to reverse (back to original). Just below them, you can check the edit history, which is a good way to select just one of the settings without it necessarily being your last.
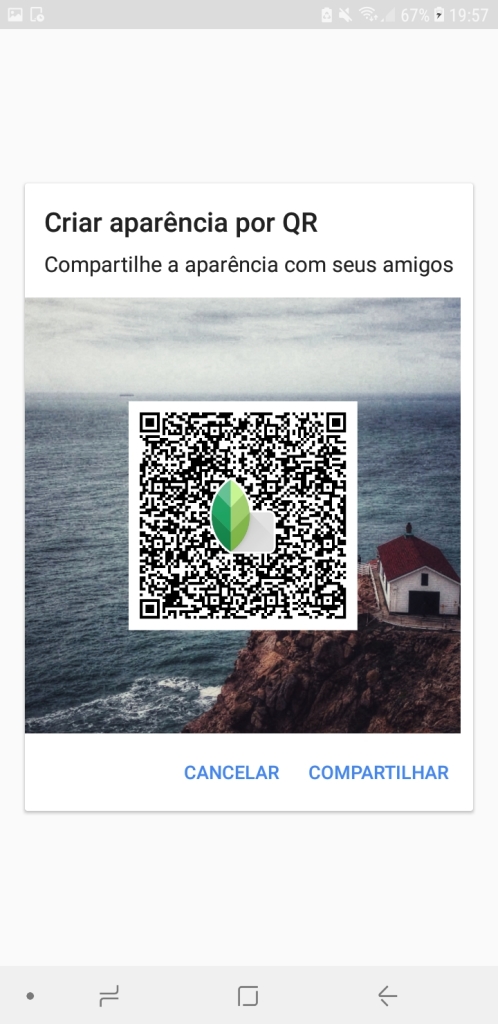
The fifth item on the list is, to say the least, curious. It is a reader QR Code, the famous square (two-dimensional) barcode. With it, you can create or open a preset from any user automatically, making it easy to share wherever you want. The only exception is that it only works if you open the code on another screen, as it uses the camera of the device you are editing. So just grab a friend's phone or search the internet for creative edits.
Export
The third tab allows you to share your image in a external application, save it as copy of original, export it following a chosen configuration or put it in a specific paste your device.
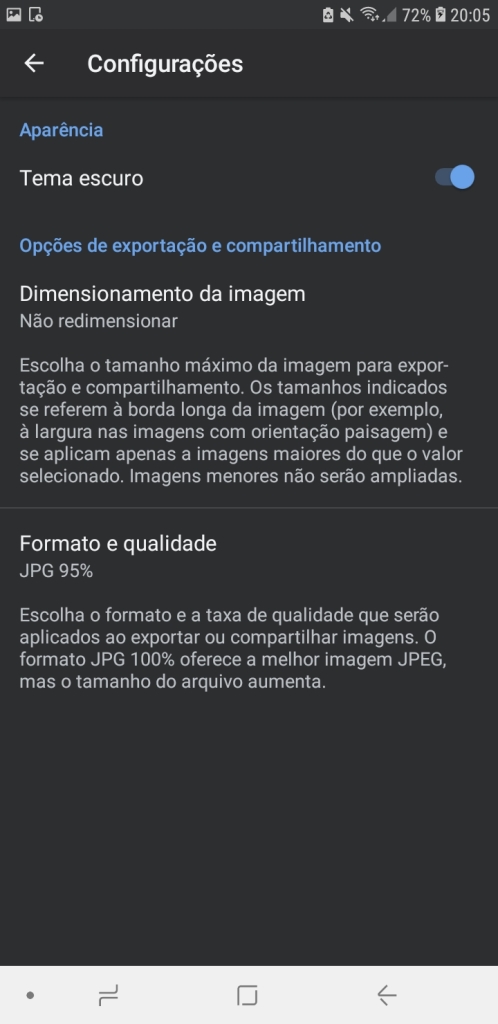
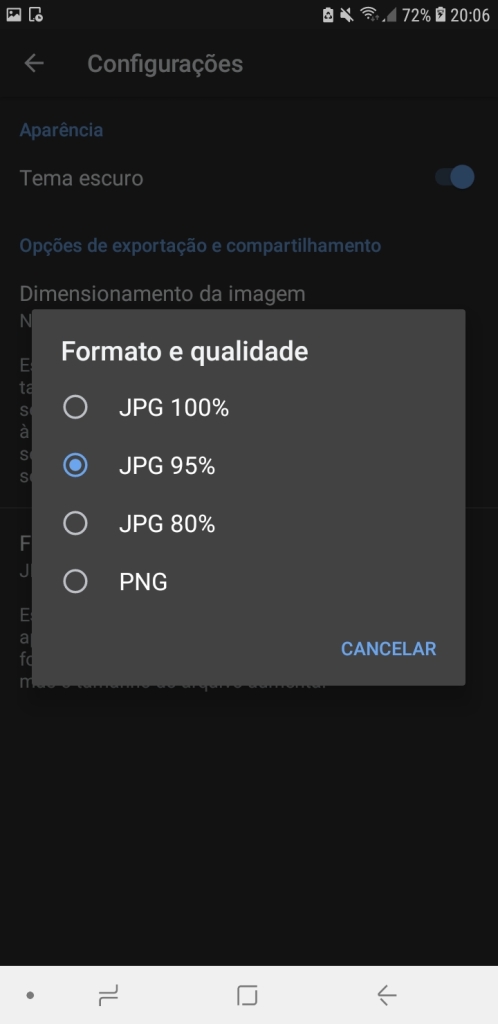
We admit that the export could be faster, as the app passes again through all the steps you edit, regardless of whether they are 2 or 20. In the upper right corner (on any screen), in addition to enabling the Dark theme, you can resize the image and select the export format (JPG 80%, 95% or 100%, and PNG). When it comes to sharing your photo on Instagram, putting a definition that you like enough (in the right measure, without exaggeration) can speed up this process within Snapseed.
More tutorials?
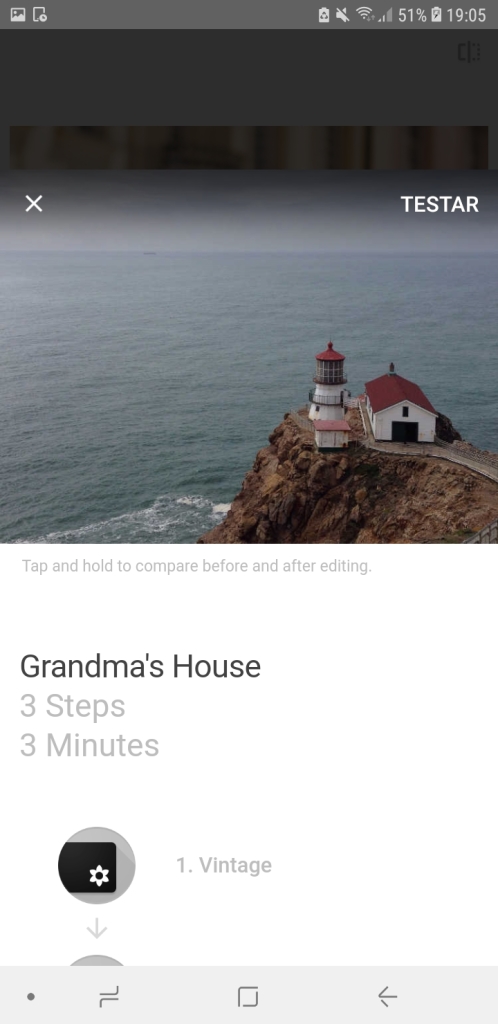
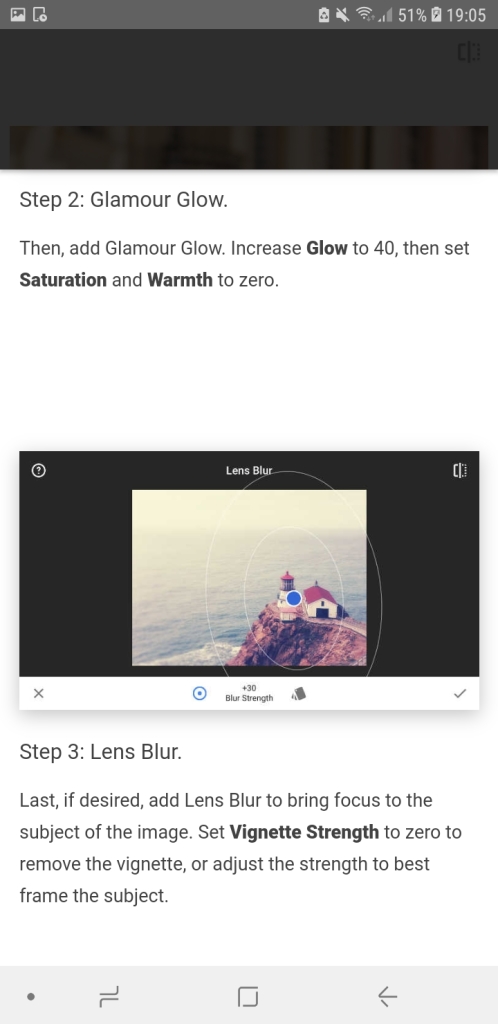
If this (modesty aside) rich tutorial wasn't enough, Snapseed itself has a huge list of tutorials – even including some on video. All with English content, the guides have editing time in their thumbnails so you know in advance if the task is worth the effort. If you don't want to learn and you just liked the effect, just select Test on the right side of the popup.
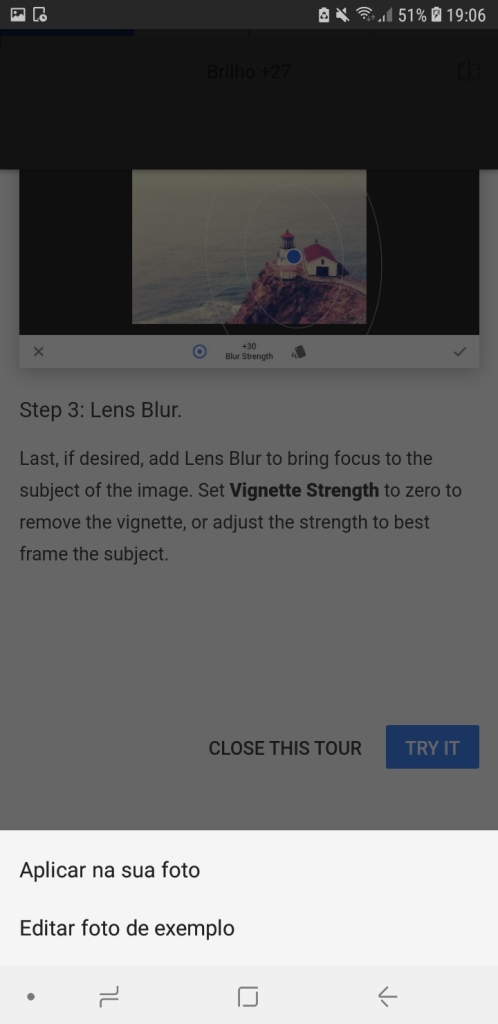
Another useful function for those who really want to learn is to be able to directly import the image they use in the tutorial by selecting Edit sample photo. The effectiveness of using exactly the same photos provided by them is guaranteed. Also remembering that it is possible to save your preset and use it in another photo, if you really liked it.
And you, already downloaded the Snapseed to edit your photos? Tell us in the comments.